png3D · Blog
Best photos for 2D-to-3D conversion
Choose clear photos with distinct subjects and backgrounds for image-based 3D motion, then inspect edges and artifacts before use.
Use only images you own or have permission to edit.
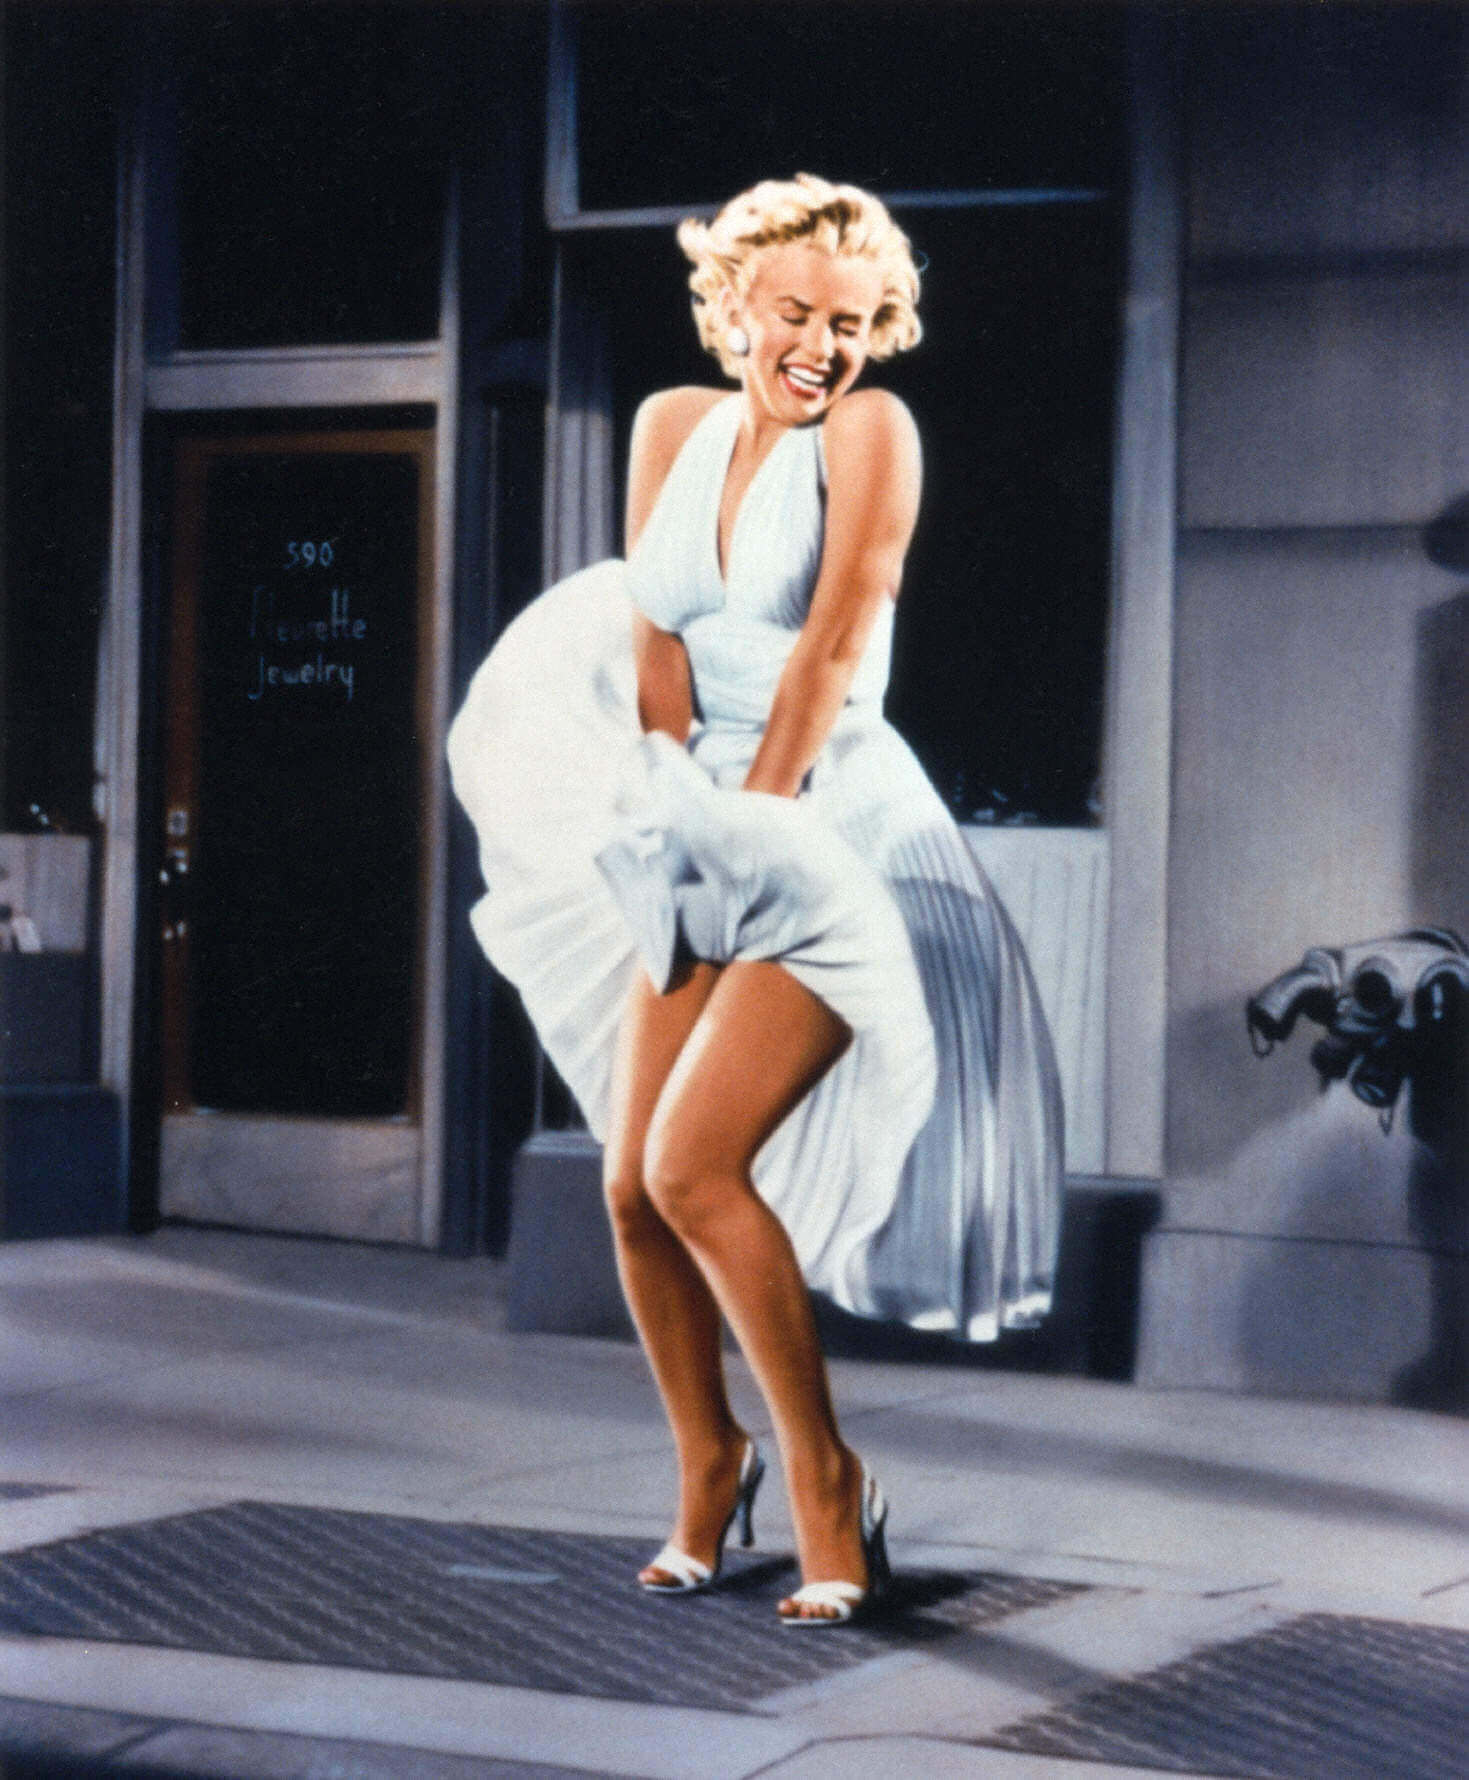 Source still
How the effect works
A photo-to-3D workflow has to infer depth from a flat image. It can use visual cues such as overlap, perspective, relative scale, lighting, and contrast, but those cues do not describe every scene unambiguously. A clean composition gives the estimation process fewer competing interpretations.
The most useful test image is not necessarily the most dramatic photograph. Choose a scene where the main subject is easy to identify and its outline is visible against the background; png3D’s published guidance also recommends placing the subject near the centre.
Choose a suitable source image
Prefer a single, clearly separated subject with some visible background around it. Distinct foreground, middle-distance, and background objects can make a depth effect easier to read, provided they do not overlap in confusing ways. A plain background is not required, but a crowded pattern right behind the subject makes boundaries harder to assess.
Inspect the exact contour that will move: hair, hands, bicycle spokes, leaves, fences, and transparent glass can merge with surrounding pixels. If an important object is cut by the frame, the simulated movement may expose an edge that was never meant to be seen.
- Usually easier to assess A well-lit, in-focus subject with a visible silhouette and uncluttered depth layers.
- More uncertain Busy overlaps, repeated patterns, low contrast, reflections, transparent materials, or a subject touching the frame.
A practical workflow
- Identify the focal subject. If you cannot describe what should feel closest in one short phrase, simplify the crop or try a different photo.
- Check separation and depth cues. Look for clear overlaps and perspective rather than relying on a strong colour difference alone.
- Test a representative image. Use one image that resembles your intended batch before spending time preparing many similar files.
Review the result and its limits
Sharpness helps reveal contours, but it does not guarantee correct depth. A sharply focused wall of repeated objects can still be ambiguous; a portrait with soft hair edges may need closer review even when its subject is obvious.
Judge outputs by the intended use: check the full clip, not only a still preview, and pay special attention to newly exposed edges. If a key object bends, floats, or merges into the background, use a simpler source or reduce the visual emphasis on movement.
Frequently asked questions
What type of picture tends to work well for a 3D photo effect?
A clear still image with a central, well-defined subject and distinguishable background is a sensible starting point. No composition guarantees a particular output.
Should the subject be in the centre?
png3D’s guidance recommends keeping the main subject near the centre for a stronger 3D effect. This is advice, not a requirement for every image.
Are busy backgrounds always a problem?
Not always, but detailed patterns and overlapping objects can make foreground and background boundaries harder to estimate. Preview the result before using it.
Can a low-resolution or blurry image still be converted?
You can try an image, but blur and compression remove visual clues. The conversion cannot reliably restore information that was not captured.