png3D · Blog
Prepare an image for 3D conversion: framing and depth
Prepare a still image for a 3D-style motion effect with practical framing, source-quality, edge-review, and troubleshooting advice.
Use only images you own or have permission to edit.
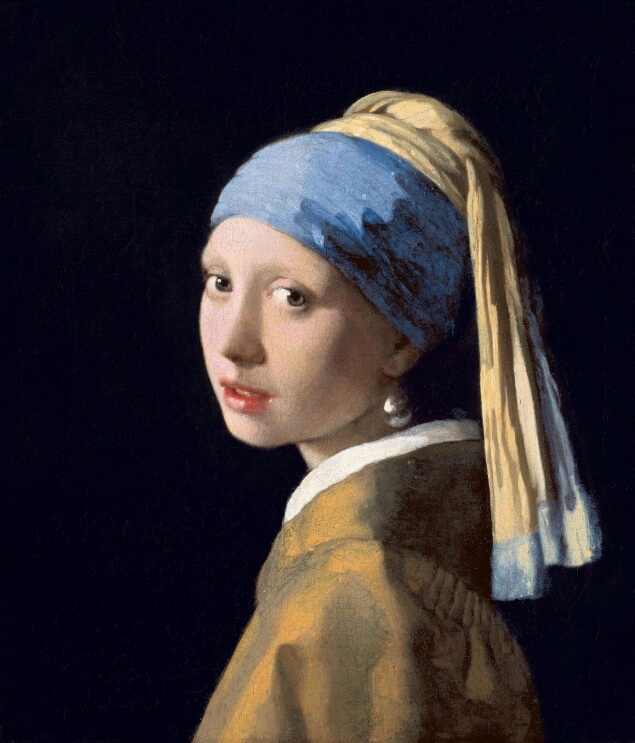 Source still
How the effect works
Before converting an image to a 3D-style motion effect, make sure the source makes its subject and boundaries easy to interpret. A depth workflow estimates relative layers from the pixels it receives; it cannot inspect the photographed objects or ask what should move in front.
Preparation is mainly about preserving useful information and avoiding ambiguous edges. It will not turn a poor source into a perfect scan, but a careful crop and a clean original make it easier to spot whether a result suits the intended use.
Choose a suitable source image
Use the cleanest original you can access instead of a screenshot or a file saved through several rounds of compression. Crop only when it clarifies the subject: leave enough space around the main object for the motion effect to be judged, and avoid trimming through hair, hands, or other important contours.
Check exposure, focus, and background clutter. A subject that blends into a similarly coloured background, a transparent object, reflective glass, or a dense pattern may not have a clear boundary in a single image. Do not add artificial outlines or retouch away meaningful scene details merely to force a depth interpretation.
- Before upload Keep the original, confirm usage rights, check the crop, and inspect the edges at full size.
- After processing Compare the output with the source and review all borders and occlusion edges throughout the clip.
A practical workflow
- Choose one representative image. For a repeated workflow, test a typical source before preparing a large set.
- Make a reversible crop if needed. Save a separate copy and retain the uncropped original for comparison.
- Upload, process, and inspect. Use the site’s controls, then review the full motion output rather than judging only a thumbnail.
Review the result and its limits
If an edge appears to stretch, float, or break, first compare it with the source: the problem may come from blur, compression, overlap, or a crop that hides context. A simpler image or less visually forceful motion can sometimes be a better fit, but no preparation step guarantees an artifact-free result.
The image-to-3D effect infers depth and reconstructs some hidden regions from the visible frame. It cannot reveal the true appearance of pixels the camera never recorded, so preserve the source and describe the result as an interpretation rather than a recovered view.
Frequently asked questions
Should I crop an image before converting it?
Crop only if it makes the main subject easier to read. Leave room around important edges and keep an original copy so you can compare alternatives.
Does a larger image guarantee better depth?
No. Resolution alone does not resolve ambiguous boundaries or missing visual information. Focus, contrast, composition, and the source image all matter.
Can editing fix every edge artifact?
Not reliably. Cleanup may help with a specific source, but the depth and occlusion estimates remain limited by what one image shows.
What should I keep after conversion?
Keep the untouched source and review copy of the output. This helps distinguish captured details from regions inferred to create the motion effect.