png3D · Blog
How to turn a 2D photo into a 3D image effect
Create a 3D-style motion effect from a still photo, understand single-view depth estimation, and review the limits of inferred hidden areas.
Use only images you own or have permission to edit.
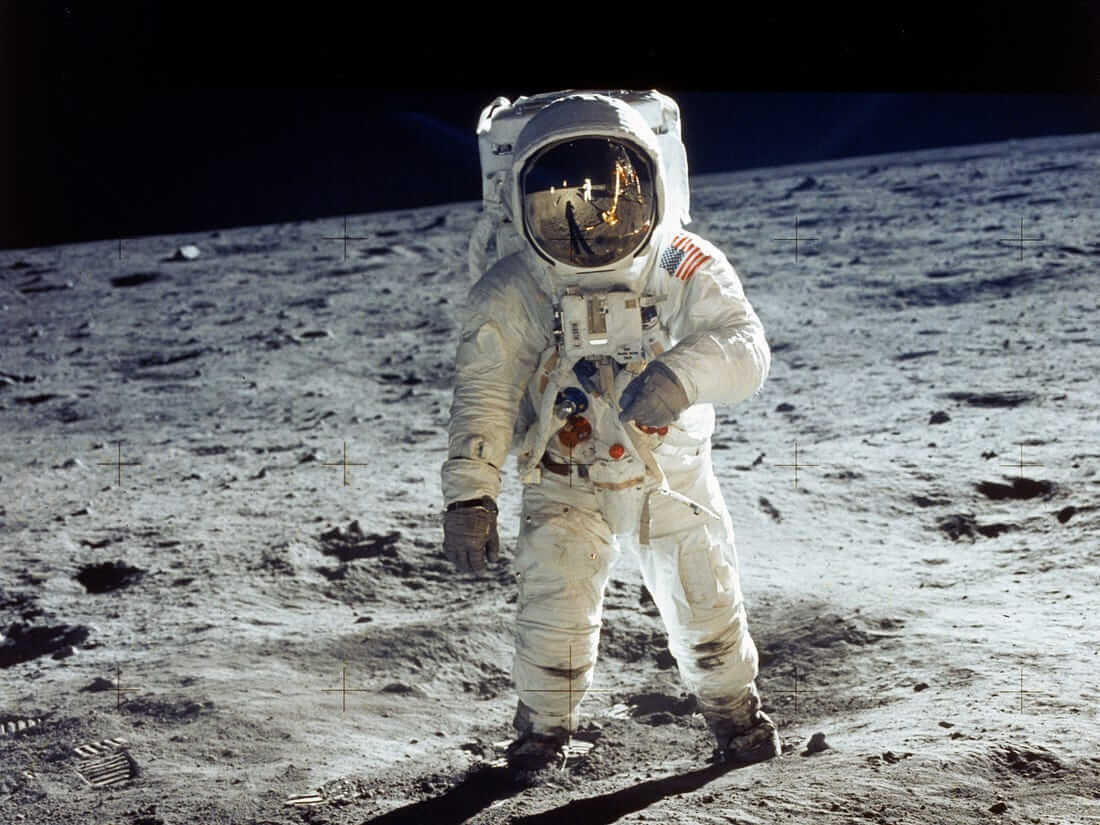 Source still
How the effect works
A 2D photo stores colour and brightness on a flat grid. A single-image 3D effect estimates which visible areas are nearer or farther away, then shifts those depth layers slightly to create parallax motion. png3D offers this kind of animated perspective from a still image.
The result is best understood as a moving presentation of one viewpoint. It is not a navigable 3D scene, a set of newly photographed angles, or an editable polygon model. The system must infer what lies behind foreground objects, so hidden details can only be approximated.
Choose a suitable source image
Start with the clearest original you have permission to use. A distinct subject, visible separation from the background, and a reasonably simple composition make depth boundaries easier to estimate. A subject near the centre is often a useful starting point, consistent with png3D’s own guidance.
Look at the edges before uploading: hair against a busy background, glass, foliage, thin wires, motion blur, and objects that merge into the background are all difficult boundaries. Strong blur or heavy compression leaves fewer reliable clues than a clean, well-lit source.
- Good starting point One main subject, visible outline, and a background that does not compete with it.
- Use caution Crowds, transparent objects, fine branches, severe blur, and important details cut off at the frame edge.
A practical workflow
- Choose a suitable still image. Keep an untouched copy and check that you own the image or have permission to process it.
- Upload and start the conversion. Use the site controls to submit the image; the interface reports task progress while processing runs.
- Compare the available motion treatments. Review the circle, swing, zoom-in, and dolly-zoom-in outputs where offered, then keep the movement that suits the composition.
Review the result and its limits
Watch the output once at normal speed and again around difficult edges. Look for foreground halos, stretched background patches, wobbling outlines, or gaps that appear when the view shifts. A subtle effect can look more convincing than exaggerated movement.
Because the input contains only one view, no conversion can recover a fact that the image never recorded. Areas exposed by simulated movement are reconstructed from context, not verified as the real hidden scene. Keep the original and treat the result as an image-based motion effect.
Frequently asked questions
Does png3D create a downloadable 3D model?
The site presents motion-video effects from a still image. It does not promise an editable mesh or a fully navigable 3D scene.
Can one photograph show a new camera angle?
A single image provides only one captured viewpoint. Parallax can suggest depth, but hidden areas are inferred and should not be treated as a faithful new photograph.
Which photo should I try first?
Choose a clear image with one easy-to-distinguish subject and visible subject-background separation. The best result still depends on the specific image.
Why do some edges look unusual?
Depth boundaries and hidden regions must be estimated from one image. Fine hair, transparency, motion blur, and overlapping objects can make those estimates less reliable.