png3D · Blog
How to make a portrait photo look 3D
Learn how portraits respond to image-based depth effects, what to inspect around hair and facial features, and why results are not 3D scans.
Use only images you own or have permission to edit.
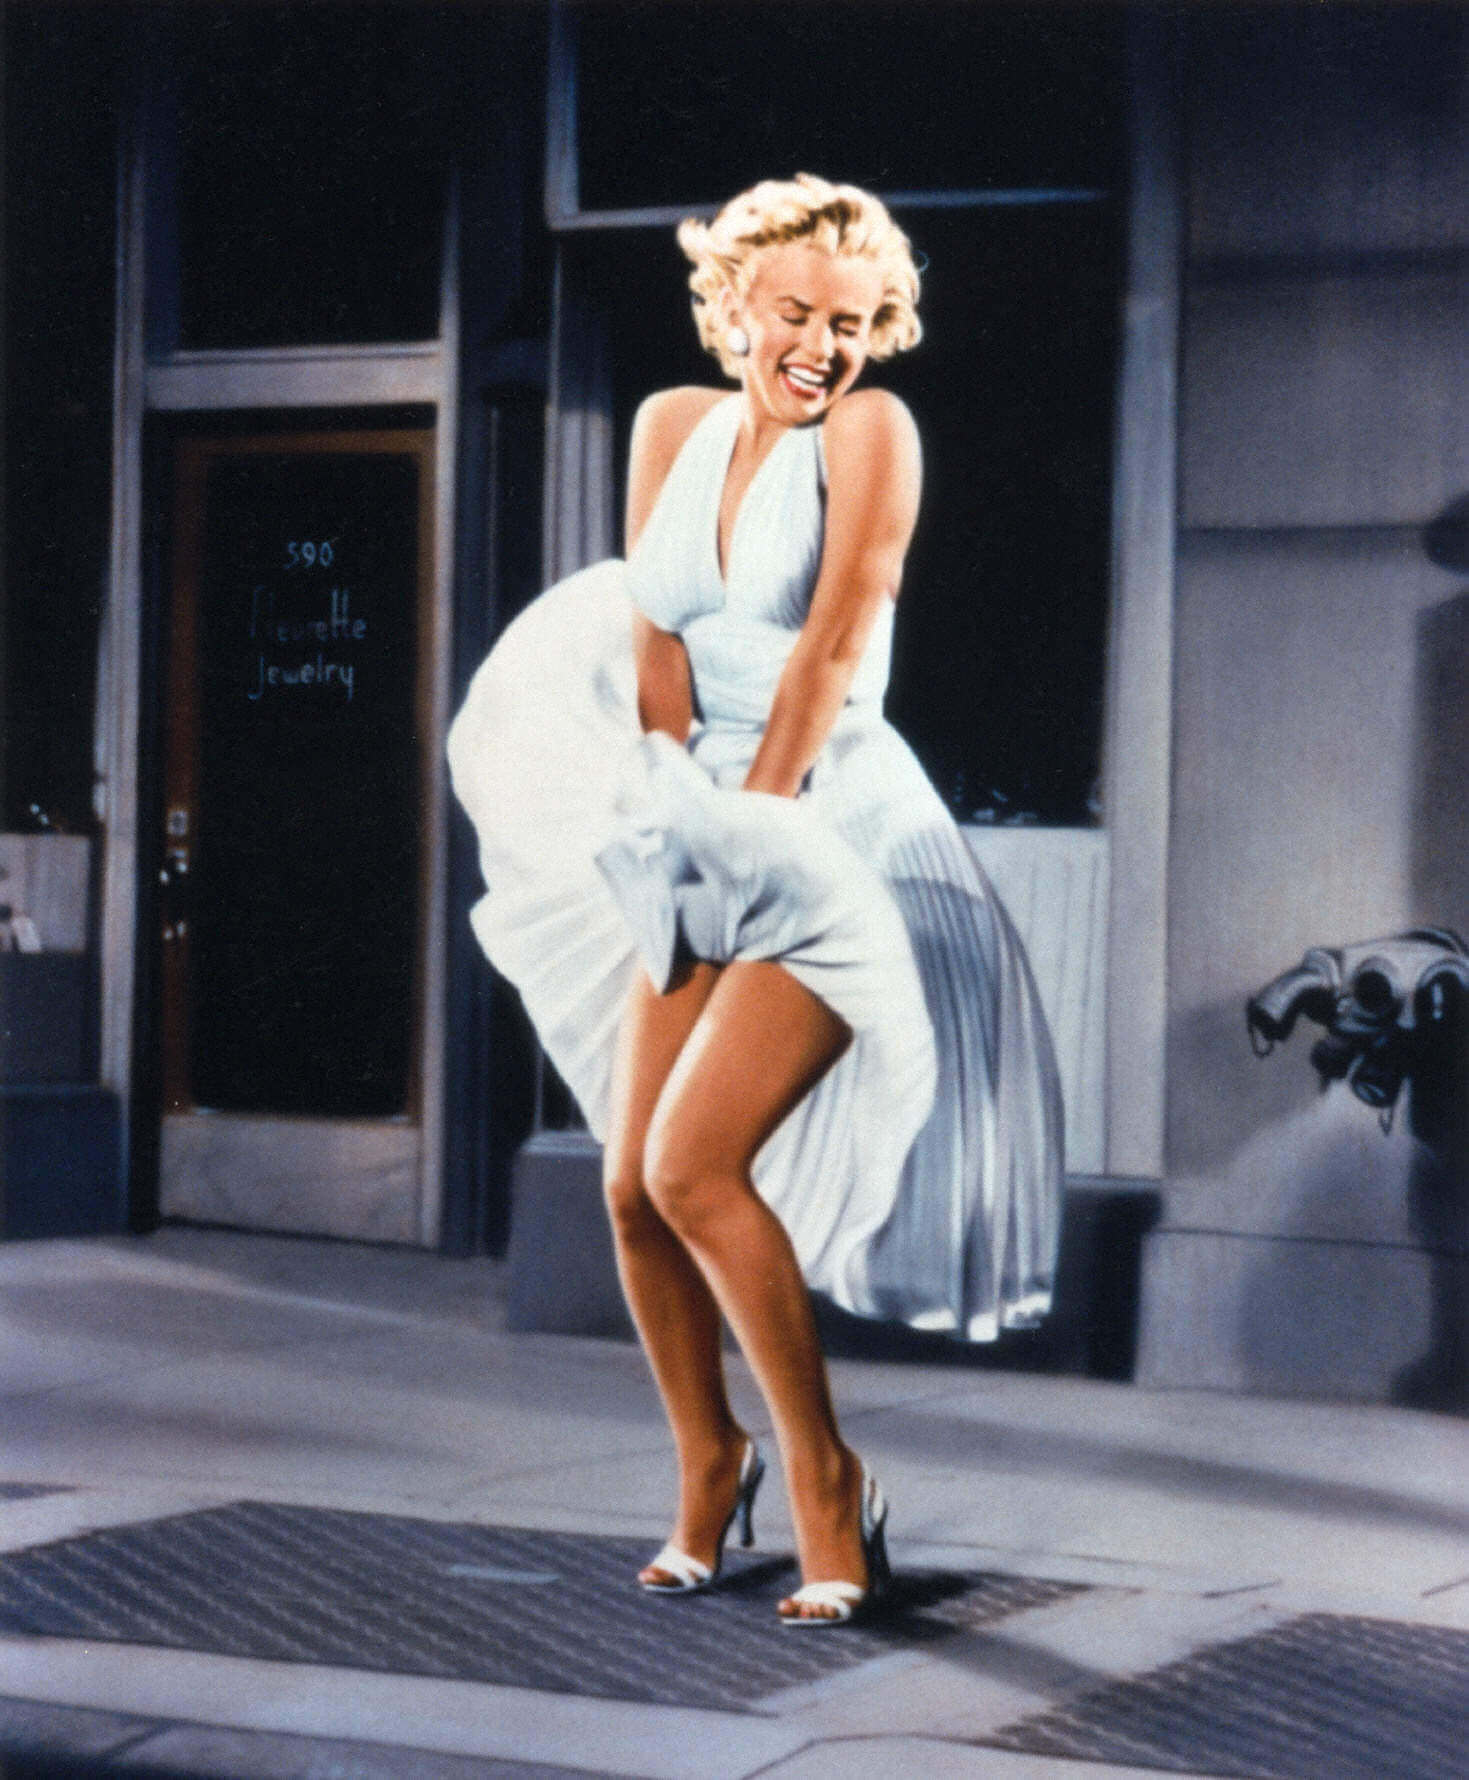 Source still
How the effect works
A portrait can make a compelling image-to-3D motion effect when the person is visually distinct from the setting. The effect estimates relative depth from one frame; it does not measure a face or capture a real three-dimensional likeness.
Faces, hair, shoulders, glasses, and hands can sit against backgrounds with similar colours or fine detail. Those transitions are exactly where an inferred depth boundary may look less stable as the viewpoint shifts.
Choose a suitable source image
Choose a sharp, evenly exposed photo where the face and outer silhouette are visible. Give the head and shoulders some space from the frame edges, and avoid a background whose texture runs through the hair or clothing. A simple wall or softly detailed setting is easier to review than a tangle of objects.
For group portraits, several faces at different distances can be interpreted as separate depth layers, but small or overlapping faces deserve extra inspection. Do not expect a single image to reveal the far side of a face or details hidden behind hair, a hand, or another person.
- Check before upload Face visibility, hair edges, glasses, shoulders, hands, and the gap between subject and background.
- Protect the original Keep the source photo unchanged so you can compare facial proportions and expression with the motion output.
A practical workflow
- Select a photo with a readable outline. Avoid a crop that cuts through the head or places a hand directly across a difficult background boundary.
- Run a small, representative test. Compare the available motion effects and look for edge distortion before choosing one for sharing.
- Review identity-sensitive details. Check the eyes, mouth, glasses, hairline, and expression throughout the clip, not just in its first frame.
Review the result and its limits
A realistic portrait effect should not pull attention away from the person. Watch for a face that appears to warp, hair that separates into a halo, or clothing that seems attached to the background. If these issues distract, try a less complex source or keep the original still.
Use portraits only when you have the necessary rights and consent for your intended use. Since the output is inferred from one image, do not present reconstructed edges or hidden details as a new factual view of the person.
Frequently asked questions
Can I turn a headshot into a 3D portrait?
png3D can create motion-style outputs from uploaded images, but the appearance depends on the image. It does not create a scan or verified 3D model of the person.
How can I reduce halos around hair?
Choose a source with a visible hair silhouette and some contrast from the background, then inspect the moving edges. Fine strands remain difficult to separate from nearby detail.
Will the output preserve every facial feature?
A single-image depth effect is not a facial reconstruction guarantee. Review identity-sensitive areas across the clip and do not rely on inferred details as evidence.
Is a group photo suitable?
It may be worth testing, but overlapping people and faces at different distances can complicate depth boundaries. Check each visible outline before sharing the result.